Support: (844) 369-9358
Blog
SPRING CLEANING: 6 stages of cleaning the inside of an RV
 Tips for cleaning an RV interiorBefore you find your adventure this camping season, take some time to clean the RV after the long winter months. To make it easy for you, we’ve put together our favorite tips for cleaning an RV.
We would suggest starting from the inside out and from the top-down, however you’re welcome to use any technique you find favorable. Also consider reviewing your camper or RV manufacturers guidelines for your particular RV.
To begin on the RV interior, start by opening all windows to allow proper air circulation. This lets the space ‘breathe’ and releases any stuffy or stale air. Use a trash bag to empty any existing garbage. Completely clearing out the RV prior to cleaning allows for proper deep cleaning.
Stage #1) Ceilings![]() Inspect the ceiling of your RV for any discoloration, which may be an indication of RV water damage. We suggest starting with a simple wipe down of the ceiling. Once this section of cleaning is complete, turn the fan on for increased air circulation.
Inspect the ceiling of your RV for any discoloration, which may be an indication of RV water damage. We suggest starting with a simple wipe down of the ceiling. Once this section of cleaning is complete, turn the fan on for increased air circulation.
- Vents and filters: This includes air conditioner and a fan vent
- Windows:
- Remove screens and spray them gently with a hose
- Wash windows using household window cleaner
Stage #2) Kitchens and Cabinets Empty cabinets and toss anything from last camping season that’s no longer useable. Take this opportunity to reorganize and make an inventory list for restocking purposes. Once cabinets are empty, start wiping the interior clean and go from one side of the RV to the other.
- Cabinets:
- Veneer cabinets: wipe clean with soft cloth
- Wood cabinets: maintained best with a wood cleaner or polish
- Vinyl wrapped cabinets: finish can be wiped with a mild cleanser or furniture polish
- Kitchen:
- Stove:
- Range hood: Remove filter and cleanse with soap in warm water without scrubbing – be sure it’s completely dry before reinstalling
- Stove top: Clean with mild soap or specified RV cleaner
- Stove:
- Countertops: Use a soft, damp cloth to wipe down countertops – check for a protectant/cleaner product specified for RV countertops
Stage #3) Fabrics and Upholstery Be careful before applying cleaning products to fabrics as some RV upholsteries contain fire and stain retardant that may cause fading or shrinking.
- Bedding: Wash, dry and replace
- Cushions: Wash any removable cushion covers or use a vacuum attachment
- Drapery: Either remove and shake off dust or clean appropriately and replace
Stage #4) Bathrooms There are RV products that are made specifically for RV’s that are mild enough for the surfaces of the bathroom. We don’t suggest using bleach or harsh cleaners in this area, as it may be harmful to the materials. Select a cleaning product that is compatible with your RV. If you want to be safe, stick with a non-abrasive cleaner.
- Bathroom and shower: Use a squeegee for shower area and wipe everything down with selected cleaner
- Toilet: Add cleaner and scrub with toilet brush
Stage #5) Floors
Useful equipment to keep RV floors clean includes a portable vacuum cleaner or small whiskbroom with dustpan. It’s also easy to prevent dirt from entering the RV with Torklift International DirtDestroyer.
- Floor storage: Start with storage areas on the floor and use vacuum attachment for hard to reach spots.
- Floors: Once vacuumed or swept, use a no-rinse floor cleaner for vinyl floors
- Entry/Exit:
- Small rug inside the door to help trap dirt – some people prefer adding grip or adhesive to keep it in place
- Torklift International DirtDestroyer attached to any RV scissor step system will help prevent dirt from entering the RV
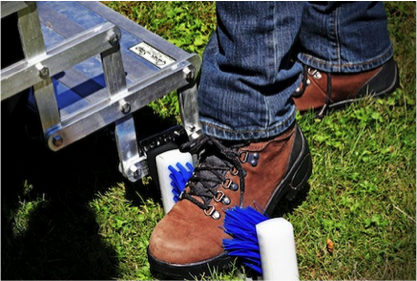 DirtDestroyer shoe brush
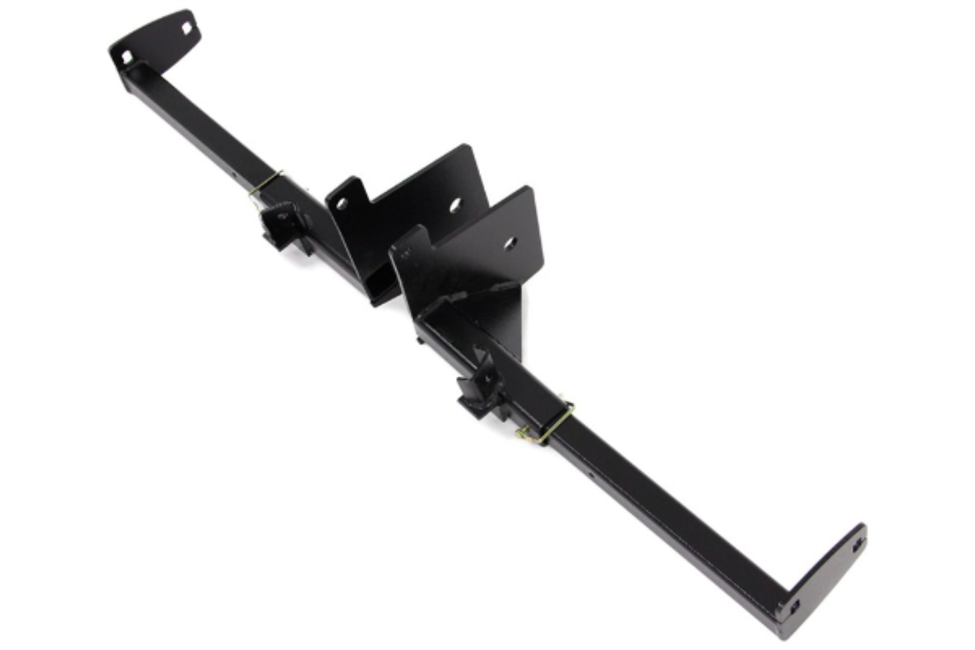
Torklift International DirtDestroyer
Take preventative measures and avoid a dirty RV throughout camping season. By connecting the bristle brush attachment to the bottom of RV scissor steps like the Torklift International GlowStep scissor step system, mud and debris are left outside where it belongs.
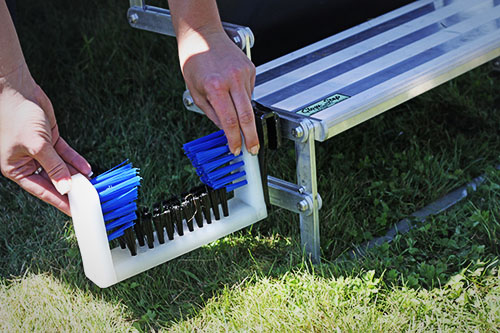 DirtDestroyer attaches to any scissor step
The DirtDestroyer shoe brush adjusts to different heights on the GlowStep RV scissor step based on your preference. The tool free design makes it easy to attach and detach. When it comes to cleaning the brush, simply use a hose to spray the boot brush clean.
Click here to learn more about the Torklift International DirtDestroyer.
After you’ve completed the five stages of cleaning the interior of an RV, give the exterior a good scrub before hitting the road for camping season. How do you keep your RV clean and well maintained?
Share your RV cleaning tips below. Happy camping!
When you subscribe to the blog, we will send you an e-mail when there are new updates on the site so you wouldn't miss them.