


Installation Disclaimer: This blog is intended as a general reference only. It may not include every step, tool, torque specification, or vehicle-specific detail needed for your installation. Always refer to the official installation instructions included with your product for the complete procedure, required tools, torque values, safety information, and fitment details.
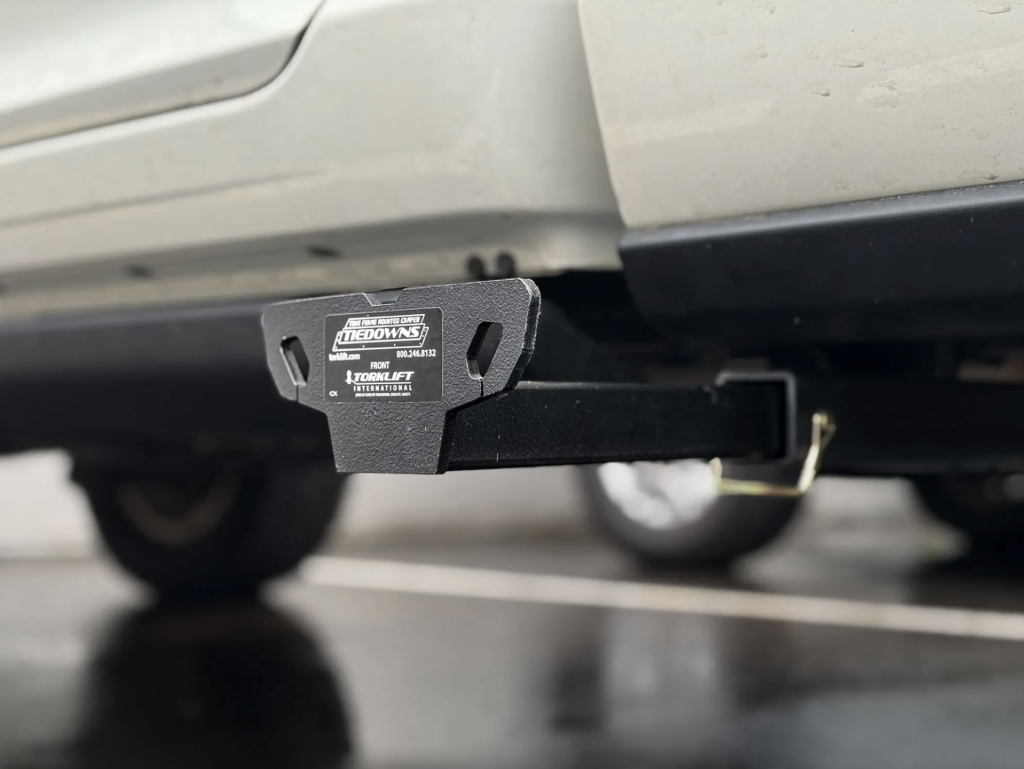
Installing front tie downs on your Dodge RAM 2500 or 3500 is a straightforward process that enhances your truck's cargo-securing capabilities. The Torklift D2140 front tie downs provide reliable anchor points for safely transporting loads in your truck bed. This guide walks you through the installation process to help you complete the job with confidence.
What You'll Need
Before beginning the installation, gather your tools and the D2140 kit components. The installation requires basic hand tools and will involve working with your truck's cab mounting brackets and parking brake cable system.
Step 1: Remove the Factory Cab Mounting Nuts
Start by locating the two factory nuts at the top of the cab mounting brackets. Remove these nuts carefully and set them aside. You'll be reinstalling these same nuts later in the process, so keep them in a safe place where they won't get lost.
Step 2: Disconnect the Parking Brake Cable
The parking brake cable needs to be temporarily removed to provide access for the tie down installation. Follow this sequence:
- Loosen the cable adjustment screw
- Remove the cable from the coupler
- Remove the main cable from the parking brake
Take note of how the cable is routed and connected. You'll need to reinstall it in the reverse order later.
Step 3: Install the Tie Down Hardware
You have two options for installing the tie down at this stage. You can either reinstall the factory nuts from Step 1 first, or you may find it easier to begin by fishing the bolt and hardware through the frame first. Choose whichever method feels more accessible based on your working position and comfort level.
Work methodically to ensure all hardware is properly aligned and seated.
Step 4: Secure the Top of the Tie Down
Once you've positioned the bolt and hardware correctly, secure the top part of the tie down. Make sure all connections are tight and properly seated against the cab mounting bracket.
Step 5: Reinstall the Parking Brake Cable
With the top portion of the tie down secured, you can now reinstall the parking brake cable. Complete this step in the reverse order of how it was removed:
- Attach the main cable to the parking brake
- Connect the cable to the coupler
- Tighten the cable adjustment screw
Ensure the parking brake cable moves freely and isn't pinched or bound by the new tie down installation.
Step 6: Attach the Frame Clamps
Using the clamps provided in your D2140 kit, attach them between the inside of the frame and the back of the tie down. Line up the holes carefully and insert the appropriate hardware to secure the connection.
This step is critical for ensuring the tie down is properly braced against the frame for maximum strength and stability.
Step 7: Complete the Second Side
Repeat the entire process on the other side of your truck. Take the same care with alignment, hardware installation, and parking brake cable routing to ensure both tie downs are installed identically.
Final Check
After completing both sides, perform a final inspection:
- Verify all nuts and bolts are properly tightened
- Check that the parking brake cable operates smoothly
- Ensure the tie downs are securely mounted with no movement
- Confirm all hardware is properly seated
Important Reminders
Always refer to the official Torklift instructions when installing any Torklift product. These instructions are updated regularly and contain the most current installation information, specifications, and safety guidelines for your specific application.
The D2140 front tie downs are now installed and ready to provide secure anchor points for your cargo management needs.
Frequently Asked Questions
Do I need to remove the parking brake cable completely?
No, you only need to disconnect it from the coupler and parking brake mechanism. The cable remains in the vehicle but is temporarily removed from its mounting points to provide clearance for the tie down installation.
Can I install just one tie down instead of both?
While the installation process covers both sides, you should install tie downs on both sides of your truck for balanced load securing capability and optimal performance.
What if I can't get the factory nuts back in easily?
You have the option to fish the bolt and hardware through the frame first before reinstalling the factory nuts. Try both approaches to see which provides easier access in your specific working conditions.
How do I know if the tie downs are secure enough?
After installation, the tie downs should have no movement when tested by hand. All hardware should be properly tightened, and the clamps should be firmly seated between the frame and the back of the tie down.
Where can I get help if I have questions during installation?
For any questions about your Torklift product installation, visit torklift.com or call 800-246-8132 for expert assistance.