


Installation Disclaimer: This blog is intended as a general reference only. It may not include every step, tool, torque specification, or vehicle-specific detail needed for your installation. Always refer to the official installation instructions included with your product for the complete procedure, required tools, torque values, safety information, and fitment details.
Why Install a Front-Mounted Hitch?
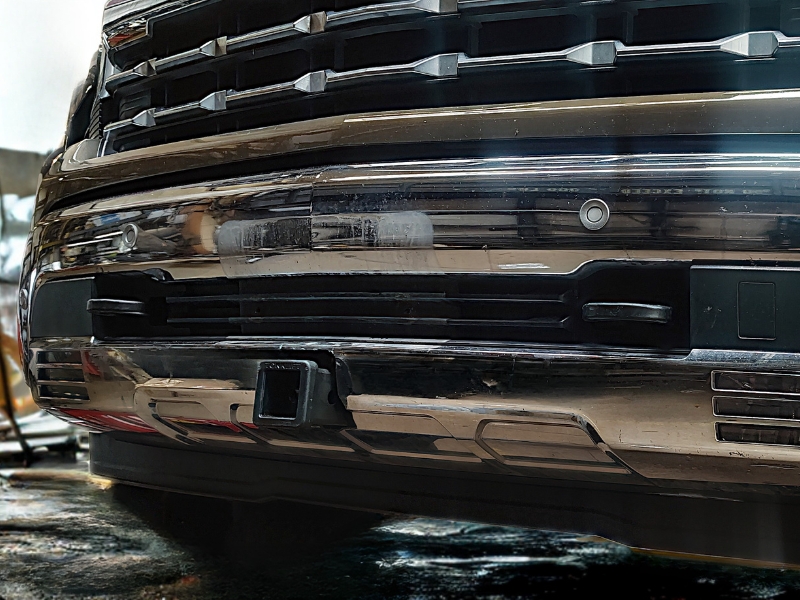
The NorthHitch part number X7906 is designed specifically for 2011-2019 Chevy 2500 and 3500 trucks. This front-mounted hitch significantly increases your truck's capabilities by allowing you to attach a wide range of equipment, from snowplows to bike racks.
Built in the USA with a lifetime warranty, this hitch features a durable powdercoated finish designed to withstand the elements and last for years to come.
Tools You'll Need
Before beginning your installation, gather the following tools:
- 15 mm socket
- 18 mm socket and wrench
- 4-inch hole saw
- Sharp razor blade or similar cutting tool
- Bolt fisher
- Torque wrench
Step 1: Remove the Plastic Rock Deflector
Start by using a 15 mm socket to remove the bolts holding the plastic rock deflector in place. Set the deflector and hardware aside for reinstallation later.
Step 2: Remove the Tow Rings
Using an 18 mm socket and wrench, remove the bolts holding the tow rings to the frame. If your truck is equipped with tow rings, remove them completely.
Step 3: Remove the License Plate Bracket
Remove the rivets from the plastic license plate bracket to detach it from the vehicle.
Step 4: Create the Cutout Panel
After removing the plastic license plate bracket, you'll need to modify it to accommodate the new hitch.
Using the measurements shown in the installation instructions, trim out two holes with a 4-inch hole saw. Then, trim out the section between the two holes using a sharp razor blade or similar tool to complete your cutout panel.
Step 5: Prepare the Bolt Fisher Hardware
Feed the coiled end of a bolt fisher through the square hole on the inside of the frame and out through the front of the frame.
Attach a bolt and hardware with a center hole plate washer to the bolt fisher. Leave the hardware in the opening of the frame with the other side of the bolt fisher protruding through the hole.
Repeat this process for both sides of the frame.
Step 6: Position the Front Hitch
Raise the front hitch up between the frame rails. This is where the installation begins to come together.
Place the tail end of the bolt fisher through the rearmost hole on the side of each plate. Pull the hardware through the frame and out of the rear side plate hole.
Attach hardware on the threaded end of the bolt and tighten it. Repeat this process on the opposite side.
Step 7: Secure the Hitch
Place one bolt and the appropriate hardware through the opening of the frame and out of the rear slot in the side plate.
Torque all the bolts to the specifications laid out in the installation instructions. Proper torque is critical for safe operation.
Step 8: Reinstall the Rock Deflector
Reinstall the plastic rock deflector using the factory hardware you set aside in Step 1.
Step 9: Install the License Plate Bracket
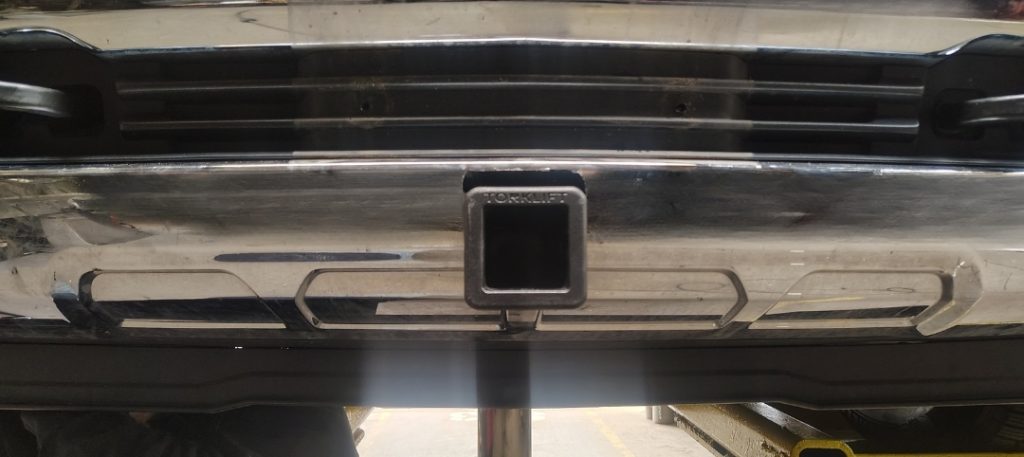
Slide the license plate bracket into the hitch receiver until it stops. Your installation is now complete.
Important Reminders
This guide serves as a visual reference for the installation process. Always refer to the official Torklift instructions when installing this product, as they are updated regularly to reflect the most current installation procedures and specifications.
The proper torque specifications for all bolts are critical to the safe operation of your hitch and must be followed exactly as outlined in the official instructions.
Frequently Asked Questions
What vehicles is the NorthHitch X7906 compatible with?
The NorthHitch X7906 is designed for 2011-2019 Chevy 2500 and 3500 trucks.
What can I attach to this front-mounted hitch?
This hitch allows you to attach various equipment, including snowplows and bike racks, significantly expanding your truck's capabilities.
Does this hitch come with a warranty?
Yes, the NorthHitch X7906 is made in the USA and comes with a lifetime warranty.
What is the finish on this hitch?
The hitch features a powdercoated finish designed to provide long-lasting durability and protection against the elements.
Where can I find the torque specifications for installation?
All torque specifications are laid out in the official installation instructions that come with your hitch. Always refer to these instructions for accurate torque values.
What if I have questions during installation?
For any questions, visit the Torklift website or call 800-246-8132 for assistance.
Do I need to modify my truck's license plate bracket?
Yes, you will need to modify the plastic license plate bracket by cutting two holes with a 4-inch hole saw and trimming the section between them.
Are the installation instructions updated?
Yes, Torklift updates their installation instructions regularly, so always refer to the instructions included with your product for the most current information.