


Installation Disclaimer: This blog is intended as a general reference only. It may not include every step, tool, torque specification, or vehicle-specific detail needed for your installation. Always refer to the official installation instructions included with your product for the complete procedure, required tools, torque values, safety information, and fitment details.
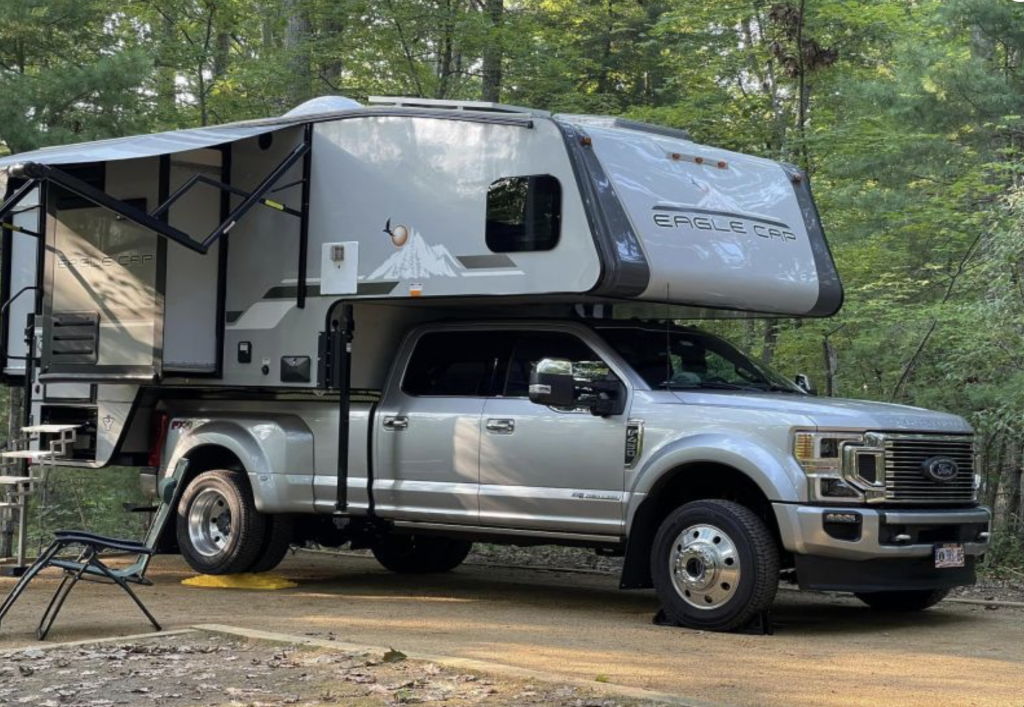
The Torklift Quick Disconnect StableLoad is engineered to prevent side-to-side sway, sagging, and porpoising when you're hauling or towing heavy loads. The standout feature of this suspension stabilizer is its ability to engage and disengage in seconds, giving you the flexibility to activate it only when needed. This guide walks you through the installation process demonstrated on a 2012 F350 long bed.
What You'll Need
Before beginning your installation, gather the following hardware (included with your StableLoad kit):
- 1/2 in x 1 1/2 in low profile hex bolts
- Four-hole bottom mount plates
- 1/2 in lock washers
- 1/2 in jam nuts
- 1/4 in x 3/4 in bolts
- 1/4 in Nylock nuts
- 1/2 in flat washers (for shimming)
- Contact pad plates
- Pin and clip
- 3/8 drive ratchet and extension
You may also need a floor jack to raise the rear of your truck during installation.
Installation Steps
Step 1: Install the Bottom Mount Plate
Begin by placing one 1/2 in x 1 1/2 in low profile hex bolt through the hole in the leaf spring. Take the four-hole bottom mount plate and position it with the pivot point on the outside of the spring pack.
Secure the assembly with one 1/2 in lock washer and 1/2 in jam nut. Tighten to 40 ft-lbs.
Step 2: Secure the Secondary Bolt
Take the 1/4 in x 3/4 in bolt and insert it into the hole on the opposite side of the pivot point. This bolt is inserted from the bottom of the plate with a 1/4 in Nylock nut on top of the plate. Tighten until snug.
Repeat this entire process on all four overloads.
Step 3: Raise Your Truck (If Needed)
To ease installation, you may need to raise the rear of your truck using a floor jack. This provides additional clearance between your overload and the spring pack, making the remaining steps more accessible.
Step 4: Position and Shim the Bottom Plate
Place the four-hole bottom plate under the overload spring. Match the height of the spring using 1/2 in flat washers as shims to achieve proper alignment.
Step 5: Add Contact Pad Plates
Determine how many contact pad plates you'll need to bridge the gap between the bottom overload and the spring pad. You may need to add or remove one or two upper contact pad plates to adjust the StableLoad for different spring pack and overload gaps.
Important: The StableLoad is designed to come in contact with the spring pack but is not designed to press up on it.
Step 6: Engage and Lock the StableLoad
Using a 3/8 drive ratchet and extension, engage or disengage the StableLoads as needed. Once engaged, place the pin and clip through the remaining hole to lock the system in place.
Important Compatibility Note
Do not use the StableLoad in conjunction with snow chains or snow cable chains if the stable loads are mounted with the pivot point on the outside of the spring pack.
Key Benefits of the Quick Disconnect StableLoad
The Torklift StableLoad offers several advantages for truck owners who haul or tow heavy loads:
- Quick engagement and disengagement: Activate or deactivate in seconds
- Permanent installation: Can stay on the truck when not in use
- Legendary lifetime warranty: Backed by Torklift's commitment to quality
- Improved handling: Reduces sway, sagging, and porpoising under load
Frequently Asked Questions
How long does it take to install the StableLoad?
While installation time varies by vehicle and experience level, the process is straightforward and can typically be completed in a few hours with basic tools.
Can I leave the StableLoad on my truck when I'm not hauling heavy loads?
Yes. The StableLoad can remain installed on your truck permanently. Simply disengage it when you're not hauling or towing, and engage it again when needed.
What torque specification should I use for the main mounting bolt?
Tighten the 1/2 in jam nut with lock washer to 40 ft-lbs. The 1/4 in bolt should be tightened until snug.
How do I know how many contact pad plates to use?
The number of contact pad plates needed depends on the gap between your overload spring and spring pack. You'll need to measure this gap during installation and adjust by adding or removing plates as necessary.
Will the StableLoad work with snow chains?
Do not use the StableLoad in conjunction with snow chains or snow cable chains if the pivot point is mounted on the outside of the spring pack.
What is the StableLoad designed to do?
The StableLoad is designed to come in contact with the spring pack to prevent side-to-side sway, sagging, and porpoising. It is not designed to press up on the spring pack.
How do I engage and disengage the StableLoad?
Use a 3/8 drive ratchet and extension to engage or disengage the system. Once engaged, secure it with the pin and clip through the remaining hole.
Is the StableLoad covered by a warranty?
Yes. The Torklift StableLoad is covered by a legendary lifetime warranty.
For more information about the Quick Disconnect StableLoad or assistance with your installation, visit torklift.com or call 1-800-246-8132.