


Installation Disclaimer: This blog is intended as a general reference only. It may not include every step, tool, torque specification, or vehicle-specific detail needed for your installation. Always refer to the official installation instructions included with your product for the complete procedure, required tools, torque values, safety information, and fitment details.
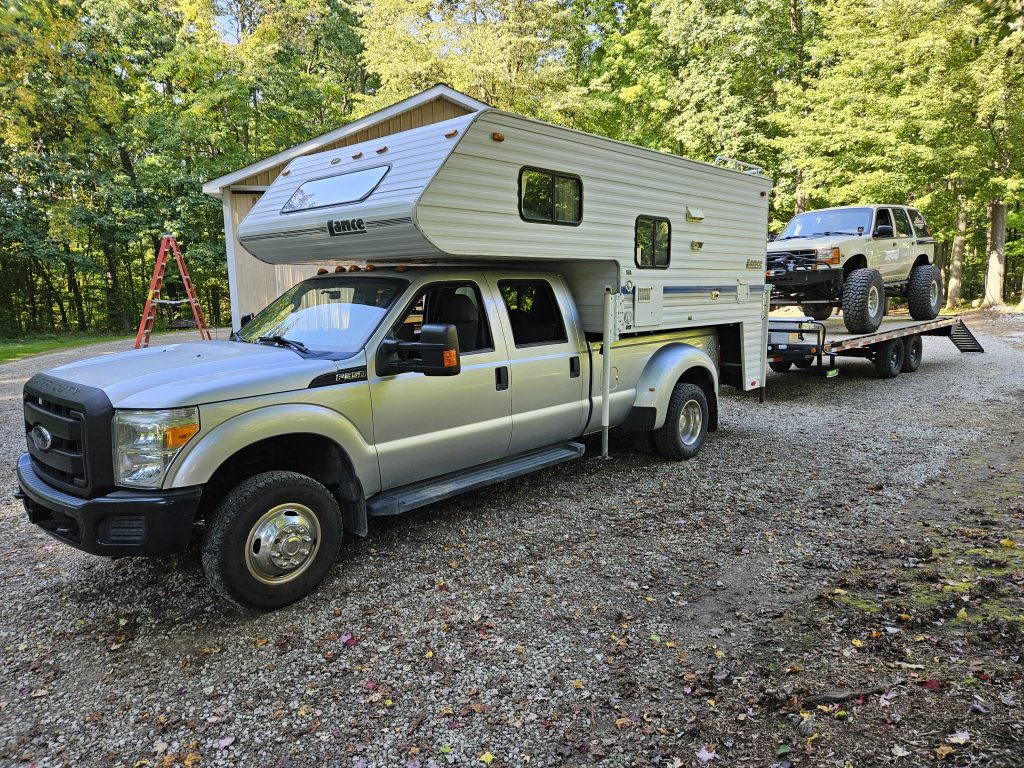
Installing a trailer hitch system doesn't have to be intimidating. With the right guidance and quality components, you can successfully install a Torklift SuperHitch, front tie down, and rear tie down on your truck. This guide walks you through the complete installation process as demonstrated on a 2012 F250 long bed, providing you with the confidence and knowledge to tackle this project.
What You're Installing
This comprehensive installation covers three essential components:
- Torklift Super Hitch (for trucks without factory hitches)
- Front tie down
- Rear tie down
These components work together to create a robust towing and cargo management system backed by Torklift International's legendary lifetime warranty.
Preparation: Getting Started
Before beginning the installation, you'll need to prepare your vehicle. For trucks without a factory hitch, the first step is to lower the spare tire. This provides the necessary clearance to access the frame and install the hitch components properly.
Installing the Passenger Side Frame Plate
The passenger side frame plate serves as the foundation for your SuperHitch system. You'll notice four holes in your truck's frame that align perfectly with the SuperHitch side plate.
Installation sequence:
- Take the supplied 1/2 inch by 2 inch Grade 8 bolt with one 1x2 plate washer
- Install the bolt through the rearmost hole from the top
- Add one 1x2 plate washer, one 1/2 inch lock washer, and one 1/2 inch nut
- Hand tighten the assembly
- Repeat this process for the remaining three holes in the passenger side frame plate
The key here is to hand tighten initially. You'll torque everything to specification later in the process.
Installing the Driver Side Frame Plate
The driver side installation mirrors the passenger side exactly. Follow the same bolt pattern and hardware sequence, working through all four mounting points. This symmetrical approach ensures balanced load distribution across your truck's frame.
Adding the Frame Support Strap
The frame support strap adds critical reinforcement to your hitch system. This component distributes stress and increases the overall strength of the installation.
Step-by-step process:
- Insert a 2 inch Grade 8 hex bolt with plate washer through the hole in the side of the frame
- Attach the strap to the upper bolt
- Add two 1/2 inch flat washers, one 1/2 inch lock washer, and one 1/2 inch nut
- Hand tighten the assembly
Next, install the remaining 2 and 1/2 by 1/2 inch hex bolts with two 1/2 inch flat washers on the inside of the frame plate. These bolts pass through the SuperHitch plate with two 1/2 inch x 4 inch spacers positioned between each plate and strap. Complete the assembly with two 1/2 inch flat washers, one 1/2 inch lock washer, and one 1/2 inch nut.
Mounting the Cross Tube
With both side plates securely installed, you're ready to lift the cross tube into position. This is where your hitch system really takes shape.
The cross tube features four holes on each side. For each hole, install one 1/2 inch rib neck bolt followed by a 1/2 inch lock washer and 1/2 inch nut.
Important: Do not use an impact wrench to draw these bolts in. Instead, use either a mallet or hand tools to avoid damaging the components or over-tightening.
Once all bolts are in place, torque all hardware to the specified torque settings provided in your installation instructions.
Installing the Rear SuperHitch Tie Down
The rear tie down integrates directly with your SuperHitch cross tube, creating a secure anchor point for cargo management.
Installation steps:
- Slide your tie down into the SuperHitch cross tube
- Align the tie down tab with the top forward most rib neck hardware hole
- Install the rib neck bolt through this tab and into the SuperHitch frame plate
- Add one 1/2 inch lock washer and one 1/2 inch nut
- Torque all hardware to specified torque settings
After securing the tie down, install your insert and apply the rear sticker to complete the installation.
Final Torque Specifications
Throughout this installation, you've hand tightened various bolts and hardware. The final critical step is torquing all bolts to the specified torque settings outlined in your product instructions. This ensures proper clamping force and prevents loosening during use.
Proper torque is essential for safety and longevity. Never skip this step.
The Torklift Advantage: Lifetime Warranty
One of the most compelling reasons to choose Torklift International is their legendary lifetime warranty. This isn't just marketing speak. It's a genuine commitment to quality that means you only buy once. Your investment is protected for as long as you own your vehicle.
Hardware Overview
Understanding the hardware used in this installation helps you verify you have everything needed:
| Hardware Type | Size | Purpose |
|---|---|---|
| Grade 8 Hex Bolts | 1/2" x 2" | Frame plate mounting |
| Grade 8 Hex Bolts | 2" | Frame support strap |
| Hex Bolts | 2 1/2" x 1/2" | Strap to plate connection |
| Rib Neck Bolts | 1/2" | Cross tube and tie down mounting |
| Plate Washers | 1x2 | Load distribution |
| Flat Washers | 1/2" | Various locations |
| Lock Washers | 1/2" | Preventing loosening |
| Nuts | 1/2" | Securing all bolts |
| Spacers | 1/2" x 4" | Proper component spacing |
Installation Best Practices
Based on this installation guide, several best practices emerge:
Hand tighten first. Never fully torque bolts during initial assembly. Hand tightening allows for adjustment and proper alignment before final torquing.
Avoid impact wrenches on critical fasteners. Particularly when installing the cross tube, use hand tools or a mallet instead of impact tools to prevent damage.
Follow the sequence. Install components in the order presented. This ensures proper fit and prevents having to backtrack.
Verify alignment. Before final torquing, double check that all components are properly aligned and seated.
Torque to specification. Always finish by torquing all hardware to the specifications in your installation instructions.
Why Professional Installation Matters
While this guide provides a comprehensive overview, professional installation offers several advantages. Experienced installers have the proper torque wrenches, specialized tools, and familiarity with vehicle-specific quirks that can make the difference between a good installation and a perfect one.
If you're not comfortable with any step of this process, seeking professional installation ensures your safety and protects your warranty.
Getting Support
Torklift International stands behind their products with more than just a warranty. They offer comprehensive support to help you succeed:
- Visit torklift.com for detailed product information and resources
- Contact live text support at 1-800-246-8132 for real-time assistance
- Access installation videos and documentation
Frequently Asked Questions
What vehicles is this installation guide applicable to?
This guide demonstrates installation on a 2012 F250 long bed. However, Torklift SuperHitch systems are available for many truck models. Always verify fitment for your specific vehicle.
Do I need a Super Hitch if my truck already has a factory hitch?
This particular installation is for trucks without a factory hitch. If your truck came with a factory hitch, consult Torklift about compatible tie down solutions.
Can I use an impact wrench for this installation?
You should not use an impact wrench to draw in the cross tube bolts. Use hand tools or a mallet instead. For other fasteners, hand tightening followed by proper torquing with a torque wrench is recommended.
What grade are the bolts used in this installation?
The main mounting bolts are Grade 8, which provides superior strength and reliability for this critical application.
How long does this installation typically take?
While installation time varies based on experience and tools available, plan for several hours to complete the installation properly without rushing.
What does Torklift's lifetime warranty cover?
Torklift International offers a legendary lifetime warranty on their products. For specific coverage details, contact Torklift directly or visit their website.
Do I need to remove the spare tire completely?
You need to lower the spare tire to provide clearance for the installation. Complete removal may not be necessary depending on your specific vehicle configuration.
What torque specifications should I use?
Specific torque settings are provided in the official installation instructions included with your product. Always refer to these specifications rather than generic values.
Can I install just the hitch without the tie downs?
While this guide covers a complete system installation, components can typically be installed separately. Consult with Torklift about your specific needs.
What if my frame holes don't line up perfectly?
The Torklift Super Hitch is designed to align with your truck's frame. If you experience alignment issues, contact Torklift support before forcing components into place.