


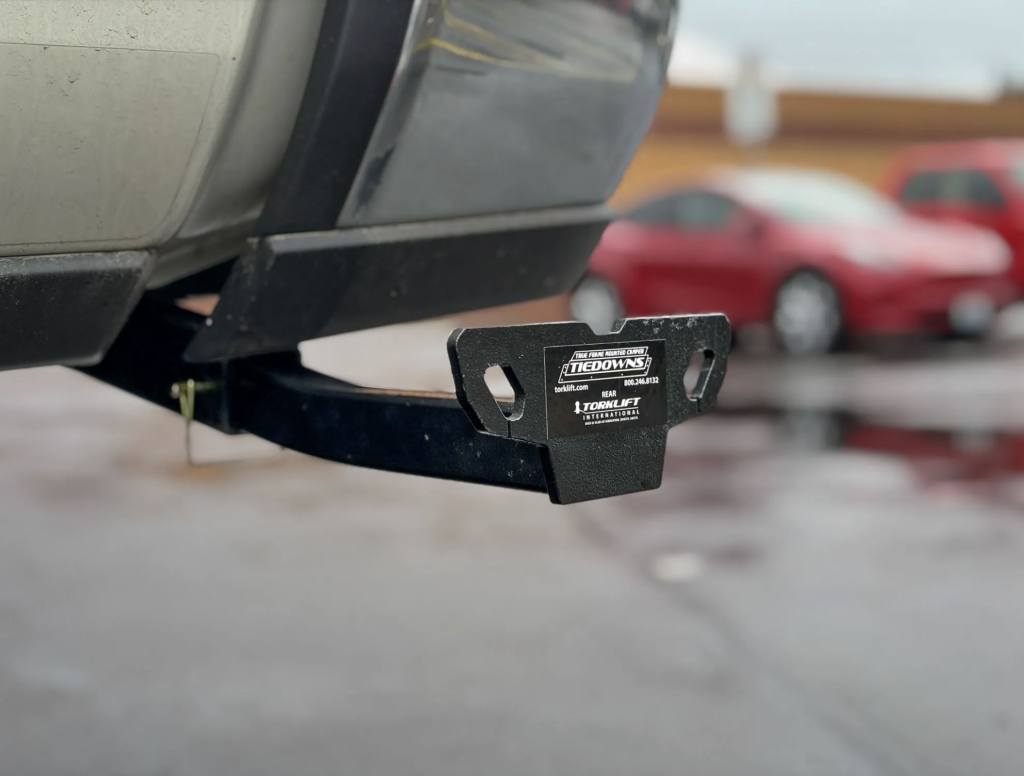
Installation Disclaimer: This blog is intended as a general reference only. It may not include every step, tool, torque specification, or vehicle-specific detail needed for your installation. Always refer to the official installation instructions included with your product for the complete procedure, required tools, torque values, safety information, and fitment details.
Installing Torklift truck camper tie downs on your Dodge doesn't have to be complicated. With the right approach and attention to detail, you can secure your camper safely and confidently. This guide walks you through the installation process for Torklift tie down receivers, helping you get the job done right.
Understanding Your Torklift Tie Down System
Torklift tie downs are designed to provide a secure mounting point for your truck camper, ensuring stability and safety while you're on the road. The system integrates with your vehicle's existing hitch mounting plate, creating a robust connection point for your camper tie down inserts.
Driver Side Installation
Removing Factory Hardware
Begin your installation on the driver side of your vehicle. You'll need to remove the three factory bolts from the driver side hitch mounting plate. Keep these bolts handy, as you'll be reusing them in the next steps.
Mounting the Tie Down Receiver
Once the factory bolts are removed, you're ready to install the tie down receiver plate:
Forward Bolt Installation:
- Insert two factory bolts through the two forward most holes in the driver side tie down receiver
- Place a five eighths inch flat washer over each factory bolt after inserting it through the tie down plate
Rearward Bolt Installation:
- Insert the last factory bolt through the rearward most bolt hole
- Do not use a washer on this bolt
Securing the Back Connection
The rear connection requires additional hardware to ensure a solid mount:
- Use the half inch hex bolt to connect the back tie down receiver plate to the back of the hitch mounting plate
- Insert the half inch bolt through the star washer and flat washer
- Secure with a one inch by two inch plate washer, lock washer, and half inch nut
Torquing to Specification
Proper torque is critical for safety and performance. Tighten and torque up all hardware to the correct foot pounds stated in your instruction booklet. This ensures your tie downs will perform as designed under load.
Installing the Tie Down Insert
With the receiver plate secured, you can now install the actual tie down:
- Slide your insert into the receiver
- Secure it down with the clip and pin
Passenger Side Installation
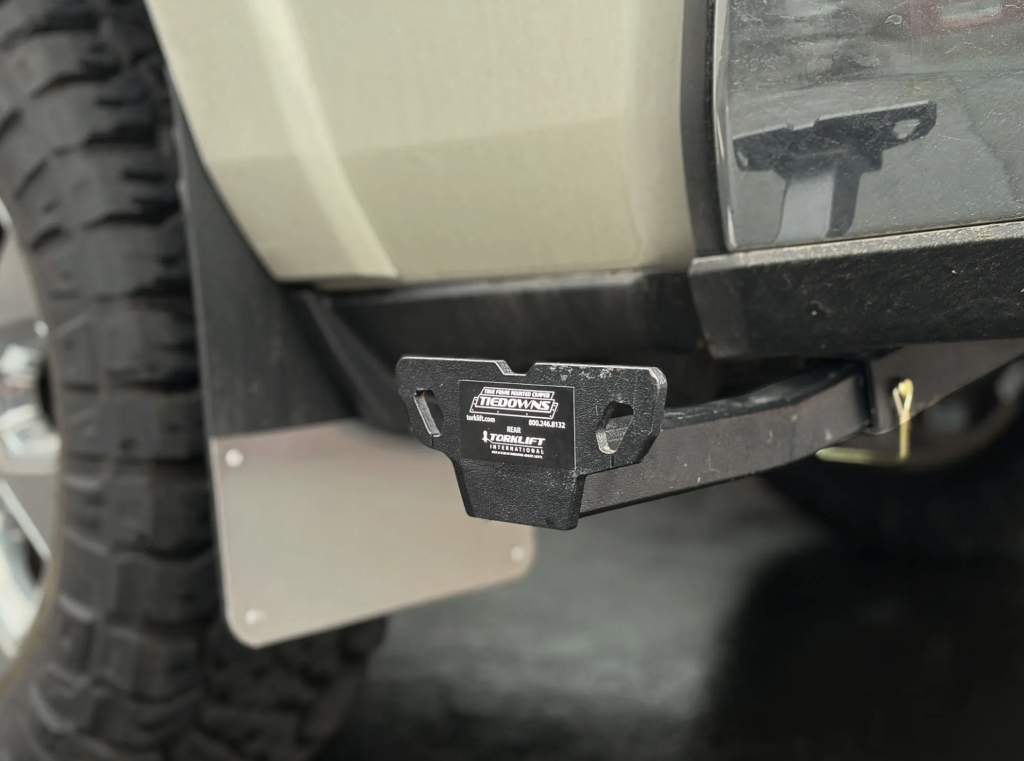
The passenger side installation mirrors the driver side process. Repeat all previous steps for the passenger side tie down receiver, ensuring you follow the same bolt placement, washer configuration, and torque specifications.
Important Installation Reminders
This installation guide provides a visual overview for the process, but it's essential to always refer to the official Torklift instructions when installing these products. Torklift updates their instructions regularly to reflect the latest specifications and best practices.
Proper installation of your tie downs is crucial for safe camper operation. Taking the time to follow each step carefully and torque all fasteners to specification will give you peace of mind on every journey.
Getting Help When You Need It
If you have questions during your installation or need clarification on any step, Torklift's support team is ready to assist. You can visit their website or call them directly at 800-246-8132 for expert guidance.
Frequently Asked Questions
Do I need to purchase new bolts for this installation?
No, the installation reuses the three factory bolts from your hitch mounting plate. Additional hardware like the half inch hex bolt, washers, and nuts are included with your Torklift tie down kit.
What's the difference between the forward and rearward bolt installations?
The two forward most bolts require five eighths inch flat washers after being inserted through the tie down plate. The rearward most bolt is installed without a washer.
Where can I find the correct torque specifications?
The correct torque specifications in foot pounds are listed in the instruction booklet that comes with your Torklift tie downs. Always refer to these official specifications rather than general guidelines.
Is the installation the same on both sides of the vehicle?
Yes, the passenger side installation follows the same steps as the driver side installation.
How do I know if my tie downs are properly secured?
After torquing all hardware to specification and installing the insert with the clip and pin, your tie downs should be firmly mounted with no movement. If you have any concerns, contact Torklift at 800-246-8132.
Should I rely solely on this guide for installation?
No, this guide is a visual reference only. Always refer to the official Torklift instructions included with your product, as they are updated regularly and contain complete specifications.