Installation Disclaimer: This blog is intended as a general reference only. It may not include every step, tool, torque specification, or vehicle-specific detail needed for your installation. Always refer to the official installation instructions included with your product for the complete procedure, required tools, torque values, safety information, and fitment details.
Why Choose Torklift D3109 Tie Downs
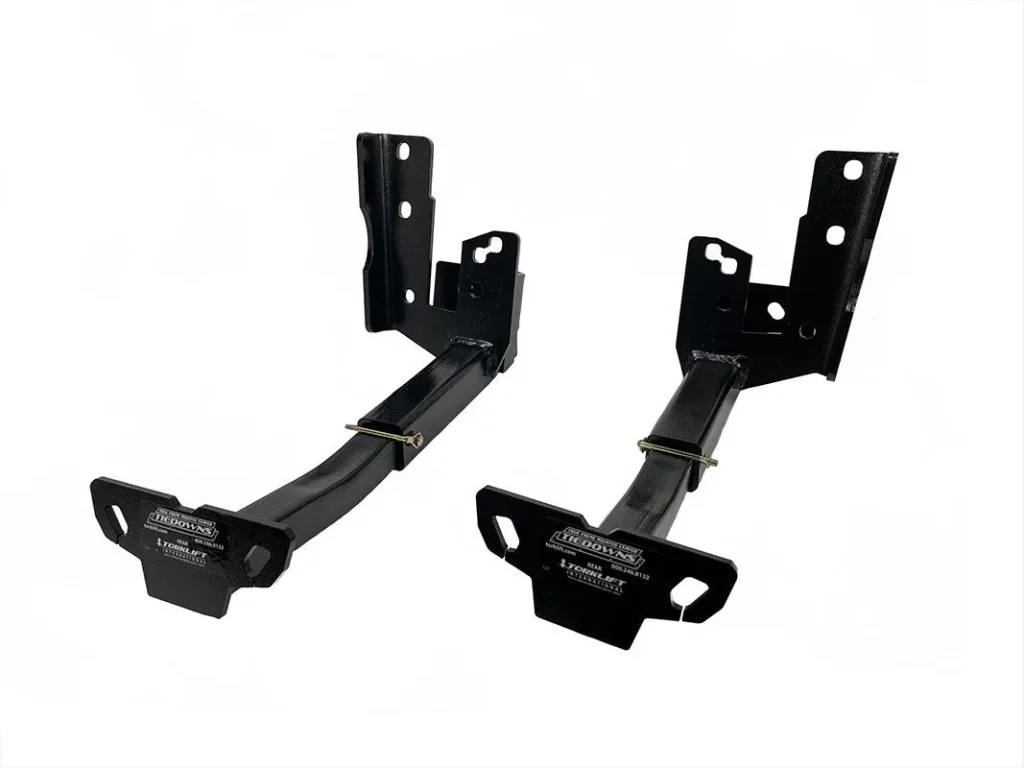
The Torklift D3109 camper tie-downs represent the strongest mounting option available for slide-in campers. These tie downs bolt directly to your truck's frame, providing maximum security and stability for your camper.
Built with quality and durability in mind, these tie downs are proudly made in the USA and come with a lifetime warranty. The powder-coated finish ensures they'll withstand the elements and continue performing for years to come.
Use Torklift’s Fit Finder to confirm the exact tie down fitment for your specific year, make, and model.
Installation Process
Step 1: Remove Factory Bumper Bolts
Begin by locating the three factory bolts that attach the bumper bracket to the frame. Remove all three bolts carefully and set them aside for reinstallation.
Step 2: Position the Tie-Down Receiver
Lift the tie-down receiver into place against the frame. Carefully align the holes in the receiver with the corresponding holes in the frame to ensure proper fitment.
Step 3: Reinstall Factory Bolts
Once the receiver is properly aligned, reinstall the three factory bolts you removed in Step 1. These bolts will secure the receiver to the frame.
Step 4: Attach the Inside Bracket
Line up the inside bracket with the oval hole on the hitch. This positioning is critical for proper tie-down function.
Step 5: Install Hardware
Install the provided hardware in the following order:
- Bolt
- Plate washer
- Star washer (through the receiver plate)
- Lock washer
- Nut
Step 6: Torque All Hardware
Torque down all the hardware to ensure a secure, stable installation. Proper torque specifications can be found in the official installation instructions.
Step 7: Complete the Second Side
Repeat the entire installation process on the other side of the vehicle to complete your tie-down system.
Using Your Tie Downs
When you're ready to secure your camper, simply slide an insert into the receiver and secure it with the provided quarter-inch pin. Your tie-downs are now ready to keep your camper secure on your next adventure.
Important Installation Notes
This installation guide serves as a overview only. Always refer to the official Torklift instructions when installing these products, as they are updated regularly to reflect the most current installation procedures and specifications.
For questions or additional support, visit the Torklift website or call (800) 246-8132.
Frequently Asked Questions
What makes Torklift tie downs the strongest option?
Torklift tie downs bolt directly to your truck's frame, creating the strongest possible mounting point for a slide-in camper.
Are these tie downs covered by a warranty?
Yes, Torklift D3109 tie downs come with a lifetime warranty and are proudly made in the USA.
How do I use the tie downs once installed?
Simply slide an insert into the receiver and secure it with the provided quarter-inch pin.
Do I need to remove my bumper for installation?
No, you only need to remove the three factory bolts that attach the bumper bracket to the frame. The bumper itself remains in place.
Where can I get help if I have questions during installation?
You can visit the Torklift website or call (800) 246-8132 for assistance.
Should I follow this guide exactly as written?
This guide is for overview only. Always refer to the official installation instructions included with your product, as they are updated regularly and contain complete specifications.