


Installation Disclaimer: This blog is intended as a general reference only. It may not include every step, tool, torque specification, or vehicle-specific detail needed for your installation. Always refer to the official installation instructions included with your product for the complete procedure, required tools, torque values, safety information, and fitment details.
Why Choose Torklift Apex Anchors
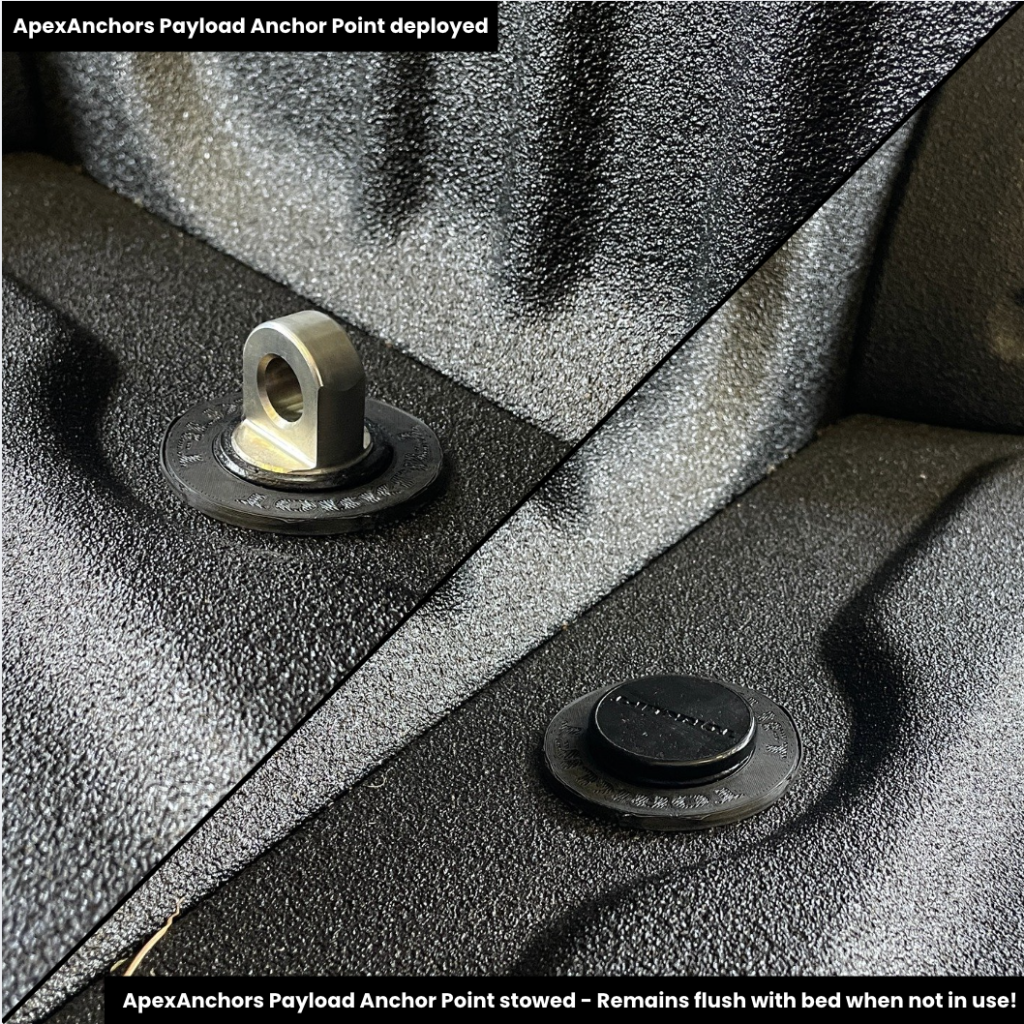
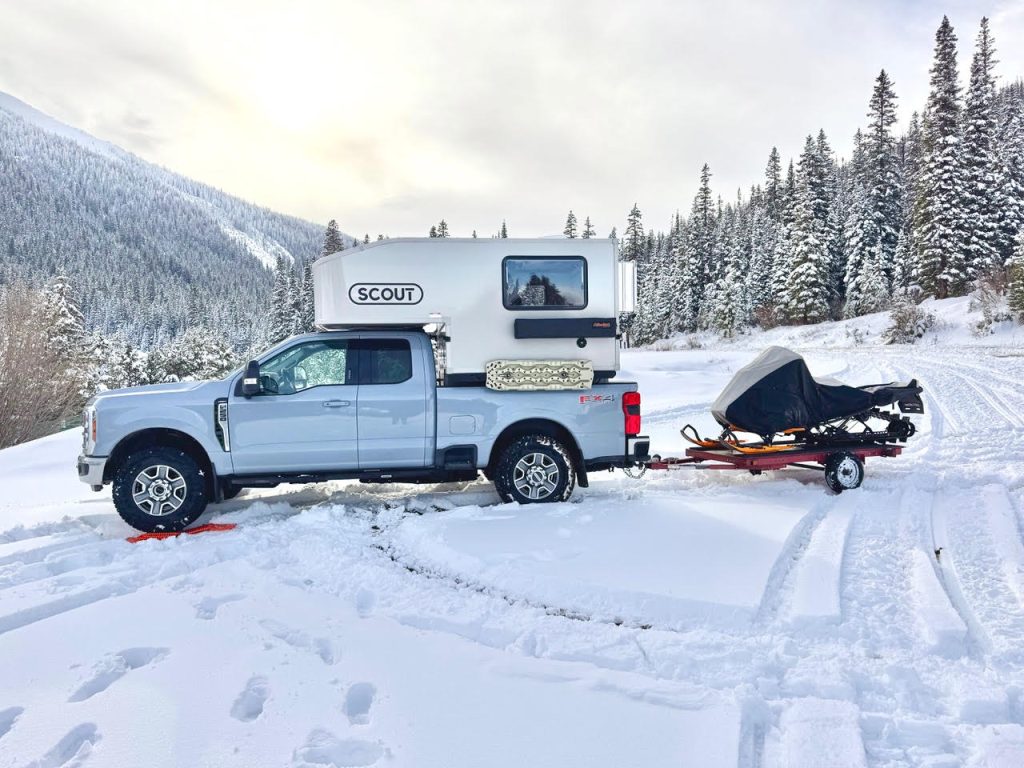
The Torklift Apex anchor (part number C5201) represents the strongest mounting option available for your slide-in camper. These in-bed camper tie-downs bolt directly to your truck's frame and feature a pop-up design that conceals when not in use. This combination of strength and convenience makes them an ideal choice for Chevy/GMC 2500/3500 truck owners who demand both performance and clean aesthetics.
Tools and Materials You'll Need
Before beginning your installation, gather the following tools:
- 18mm socket
- Long 1/4" drill bit
- 2" hole saw
- WD-40 (optional, but helpful)
The Apex anchor kit includes all necessary hardware, including 3/8" bolts, flange nuts, and flat washers.
Installation Process
Step 1: Remove the Factory Bed Bolt
Start by locating the furthest rearmost factory bed bolt. Using an 18mm socket, completely remove this bolt. Keep it handy as you'll be reinstalling it shortly.
Step 2: Loosen the Overload Bump Stop Bracket
Using the same 18mm socket, loosen the overload bump stop bracket. Do not remove it completely at this stage.
Step 3: Install the Driver Side Receiver
Take your driver side receiver and slide it underneath the edge of the bump stop bracket bolt. Align it with the bed bolt hole you cleared in Step 1. Reinstall the factory bed bolt you removed earlier, but leave it hand-tight for now.
Step 4: Prepare the Leaf Spring Hanger Bolt
Locate the forwardmost leaf spring hanger bolt. Loosen this bolt, leaving approximately a half-inch gap. Do not fully remove the bolt.
Step 5: Install the Vertical Strap
Take the vertical strap and slide it underneath and behind the upper plate. Slide it upward and snug the leaf spring bolt just enough to hold the plate in place and prevent it from falling.
Step 6: Connect the Vertical Plate to the Receiver
Connect the vertical plate to your receiver. Secure each connection point with a 3/8" flange nut. Once all four connections are made, tighten all four of the 3/8" bolts.
Step 7: Tighten Factory Bolts
Return to the two factory bolts you loosened earlier. Using your 18mm socket, tighten these bolts while pushing the receiver upward toward the bed and inward toward the frame. This ensures proper positioning and alignment. After securing these bolts, tighten the leaf spring bolt.
Step 8: Mount the Drill Template
Using two 3/8" bolts and flange nuts, mount the drill template to the upper holes in your frame mount. Push the drill template up toward the bottom of the bed and snug the two bolts to hold it firmly in place.
Step 9: Drill the Pilot Hole
Using your long 1/4" drill bit, drill upward through the bottom of the bed and through the drill template. This creates your pilot hole for the larger opening.
Step 10: Remove Template and Drill Main Hole
Remove the drill template. Using a 2" hole saw, drill down through the 1/4" pilot hole you just created, cutting through the truck bed.
Step 11: Install the Skirt
Install the skirt, ensuring that the fingers run from front to back of the bed. Proper orientation is critical for correct function.
Step 12: Install the Receiver Through the Skirt
Install the receiver from the bottom of the bed, pushing it up through the skirt. A small amount of WD-40 can make this process easier.
Step 13: Secure the Receiver to the Frame Brace
Using four 3/8" bolts (1 1/4" long) with flat washers, attach the receiver to the main frame brace. Finish each bolt with a 3/8" flange nut.
Step 14: Adjust and Final Tightening
The receiver has vertical adjustment capability. Position it so it sits approximately 1/8" above the skirt. Once properly positioned, tighten down all four remaining bolts.
Using Your Apex Anchors
Your installation is now complete. To use your Apex anchors, simply pull up on the insert and twist to lock it into position. Your anchors are now ready to secure your camper for your next adventure.
Important Reminders
Torklift regularly updates installation instructions to reflect the latest best practices and product improvements. Always refer to the official instructions included with your product for the most current information.
The installation process outlined here serves as a visual reference guide. For complete specifications, torque values, and vehicle-specific details, consult your product documentation.
Frequently Asked Questions
What makes Apex anchors the strongest mounting option?
Apex anchors bolt directly to your truck's frame, providing a solid connection point that distributes camper weight to the strongest part of your vehicle's structure.
Can I conceal the anchors when not in use?
Yes. The pop-up design allows the anchors to be lowered and concealed when you're not carrying a camper, maintaining your truck bed's clean appearance.
What is the part number for Chevy/GMC 2500/3500 Apex anchors?
How do I lock the anchor insert in position?
Pull up on the insert and twist to lock it into position.
Where can I get help if I have questions during installation?
Contact Torklift directly at 800-246-8132 or visit their website for assistance.
How far should the receiver sit above the skirt?
The receiver should be positioned approximately 1/8" above the skirt before final tightening.
Do I need to completely remove the leaf spring hanger bolt?
No. Loosen it leaving about a half-inch gap, but do not fully remove it.