


Installation Disclaimer: This blog is intended as a general reference only. It may not include every step, tool, torque specification, or vehicle-specific detail needed for your installation. Always refer to the official installation instructions included with your product for the complete procedure, required tools, torque values, safety information, and fitment details.
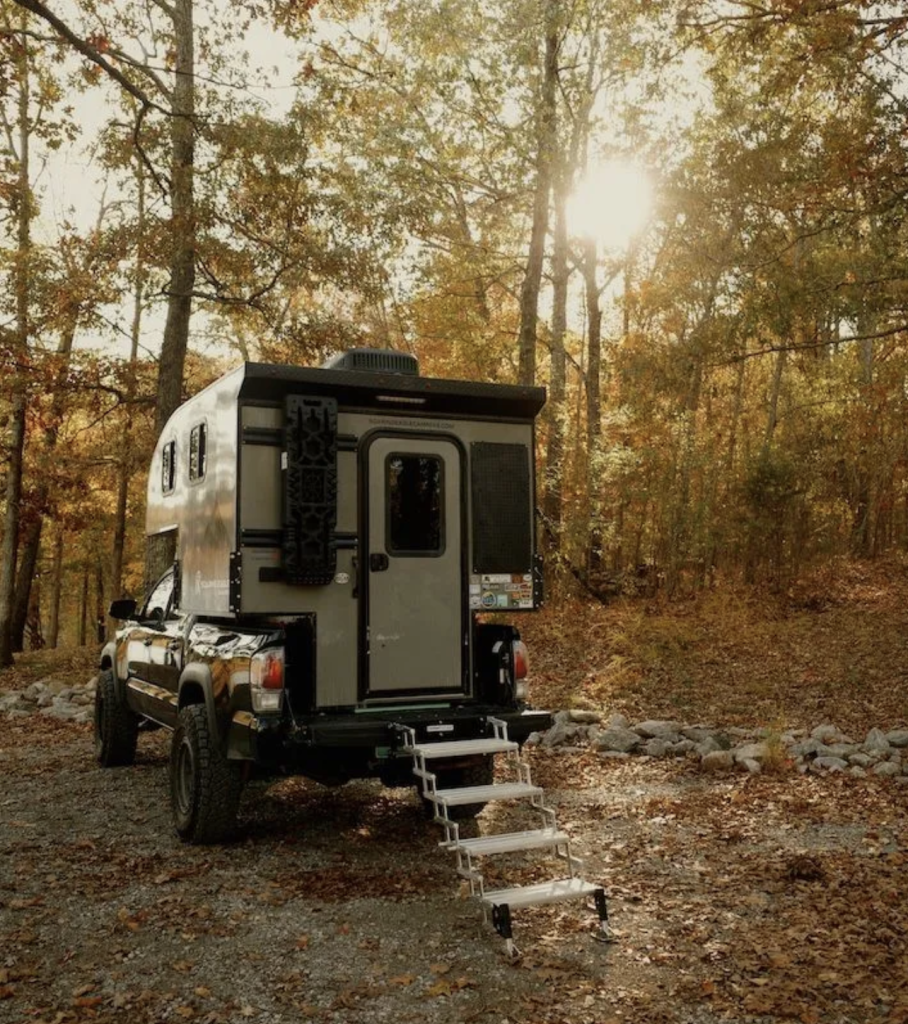
Getting in and out of your truck bed shouldn't be a challenge. The Torklift Tailgater Step Adapter Bracket transforms your tailgate into a convenient access point, making it easier to reach your gear, equipment, and cargo whenever you need it.
This guide walks you through the installation process so you can start enjoying easier bed access right away.
What You'll Be Installing
The Tailgater Step Adapter Bracket system consists of a tailgate mounting bracket that secures to your truck's tailgate, allowing you to attach a step assembly when needed. The installation involves drilling, installing rivet nuts, and mounting the bracket system to your tailgate.
Step-by-Step Installation Process
Mark Your Drilling Points
Start by positioning the tailgate mounting bracket where you want the step to be located. Use the bracket's holes as a drilling template and mark each spot carefully. This ensures accurate placement and proper alignment for the entire system.
Drill the Mounting Holes
Using your previously marked spots, drill four holes through the tailgate. Take your time with this step to ensure clean, precise holes that will provide a secure foundation for your bracket system.
Install the Rivet Nuts
This step requires careful attention to ensure a solid, permanent mounting point:
- Thread the bolt into each rivet nut until the bolt head contacts the unthreaded nut
- Hold the supplied tool's unthreaded nut firmly in place
- Turn the bolt head until it can't go any further, which expands the rivet nut
- Remove the bolt and unthreaded nut from the tool
- Repeat this process on all four mounting points
Attach the Mounting Brackets
Connect the step mounting bracket to the tailgate mounting bracket using the provided nuts and bolts. Make sure all connections are secure before proceeding.
Complete the Installation
Mount the assembled brackets to the rivet nuts you installed in the tailgate. Once everything is secured, you can attach the step assembly whenever you need easy access to your truck bed.
Using Your New Step System
The beauty of the Tailgater Step Adapter Bracket is its convenience. Attach the step assembly when you need to access your bed easily, giving you a stable platform to step on while loading, unloading, or reaching items in your truck bed.
Important Reminders
This installation guide provides a visual reference for the process, but it's essential to consult the official instructions that come with your Torklift product. These instructions are updated regularly to reflect the latest installation procedures and specifications.
Frequently Asked Questions
How many holes do I need to drill for installation?
You'll need to drill four holes in your tailgate using the mounting bracket as a template.
What are rivet nuts and why do I need them?
Rivet nuts create strong, threaded mounting points in the tailgate material. They expand when installed, providing a secure anchor for the bracket system.
Can I remove the step when I don't need it?
Yes, the step assembly can be attached when you need easy bed access and removed when not in use.
Do I need special tools for this installation?
The rivet nut installation requires a supplied tool that comes with your bracket system. You'll also need a drill and basic hand tools.
Where can I get help if I have questions during installation?
For any questions about your Torklift product installation, visit the Torklift website or call 800-246-8132.
Should I follow this guide or the printed instructions?
Always refer to the official instructions included with your Torklift product, as they are updated regularly and contain the most current installation information.