


Installation Disclaimer: This blog is intended as a general reference only. It may not include every step, tool, torque specification, or vehicle-specific detail needed for your installation. Always refer to the official installation instructions included with your product for the complete procedure, required tools, torque values, safety information, and fitment details.
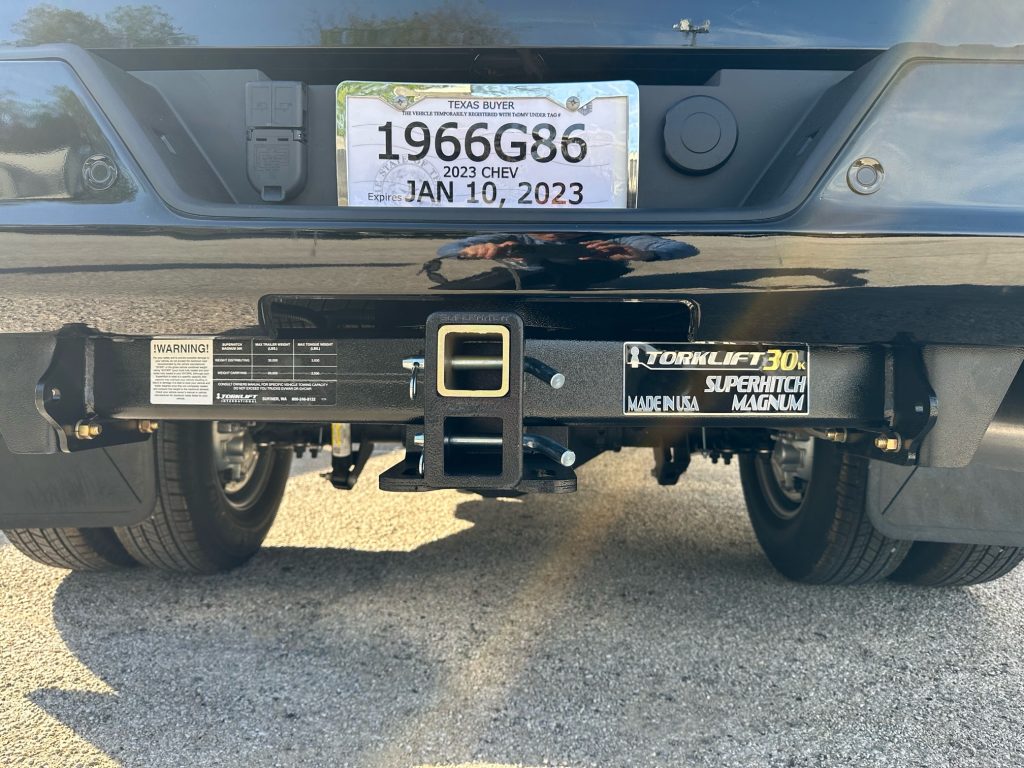
The Torklift Super Hitch transforms your truck's towing capabilities with an impressive 20,000 lb towing capacity and 2,000 lb tongue weight rating. This guide walks you through installing the Super Hitch part number D1108 on a Dodge 3500, though the process applies to similar applications. Made in the USA and backed by a lifetime warranty, this hitch is engineered for serious hauling demands.
Before You Begin
The Super Hitch installation requires working underneath your vehicle and handling multiple hardware components. The process involves removing factory components, installing side plates, and properly torquing all hardware in a specific sequence.
Initial Preparation Steps
Start by lowering your spare tire to access the work area. Once the tire is down, remove the heat shield located behind it. This gives you clear access to the mounting points.
Next, loosen the six bolts holding the factory hitch to the side of the frame. Leave these bolts in place for now, as they'll be re-tightened later in the installation process.
Installing the Passenger Side Components
The passenger side installation begins with the bolt fisher technique, which allows you to position hardware in hard-to-reach areas inside the frame rail.
Front Side Strap Installation
Attach a 1x3 plate washer, star washer, and 1/2-inch bolt to the provided bolt fisher. Insert the hardware through the designated hole, then pull on the wire to seat the bolt through the two washers. Carefully slide the front side strap onto the bolt fisher and over the bolt, then remove the fisher.
Frame Rail Hardware (Varies by Truck Bed Length)
The next step differs between short bed and long bed trucks. For short bed trucks, insert the coiled end of the bolt fisher through the designated hole and guide it through the large hole in the bottom of the rail. Attach a 1x2 plate washer, star washer, and bolt to the fisher, then pull the assembly through the frame and back out the hole in the bottom.
End of Frame Installation
Slide a 2x2 plate washer into the opening at the end of the frame rail and align the hole in the washer with the hole in the frame. Guide your bolt fisher through this hole and out the end of the frame. Attach a star washer and bolt, then pull down through the plate washer.
Mounting the Passenger Side Plate
Take your passenger side plate and raise it into position with the bottom flanges bent towards the outside of the vehicle. Secure each of the previously installed bolts with two plate washers, a lock washer, and a nut. Keep all hardware loose at this stage.
Install a bolt with two flat washers through the side plate and out the slotted hole in the factory hitch plate. Secure with a plate washer, lock washer, and nut.
Insert a bolt with two washers through the front hole on the side of your Super Hitch side plate. On the other side of the plate, install a 2x2 plate washer over the bolt before inserting the bolt through the lower hole in the previously installed front side strap. Secure with two flat washers, a lock washer, and nut.
Installing the Driver Side Components
Repeat all the passenger side steps to install the driver side plate. It's critical to leave all hardware as loose as possible during this phase to allow for proper alignment later.
Cross Tube Installation
For trucks 2017 and older, install the adhesive hitch spacer strip to the top of the cross tube before proceeding. This spacer is not needed for 2018 and newer models.
Once both side plates are mounted, lift your Super Hitch cross tube into place between the two plates. Loosely secure each side with a bolt, lock washer, and nut. Once the hitch is in position, secure the remaining holes.
Chain Plate Connection
Place a 1/2 inch x 2 inch fender washer and two flat washers onto the threads of a 1/2-inch bolt. Insert a 1/2 inch x 2 inch fender washer between the factory hitch chain plate and the Super Hitch cross tube. Insert the bolts with washers through the slotted holes in the Super Hitch, then secure each bolt with a serrated flange nut.
Alignment and Torquing Sequence
Line up the Super Hitch receiver with the factory hitch receiver so they are perfectly aligned from left to right. Use two wrenches on the vertical hardware to draw the two receivers together. Do not fully tighten yet.
Proper torquing in the correct sequence ensures optimal strength and safety. Follow this exact order:
- Cross tube to side plates: Start with the eight bolts connecting the cross tube to the side plates
- Rear frame connections: Torque the two rearmost bolts connecting the side plate to the frame
- Front frame connections: Torque the two frontmost bolts
- Side strap connections: Torque the two front side strap to Super Hitch bolts and side strap to truck frame bolts
- Chain plate bolts: Torque the two cross tube to chain plate bolts
- Factory hitch bolts: Finally, re-tighten the six factory hitch bolts
Final Steps
Trim the heat shield to fit with the new side plate in place. Reinstall the heat shield, followed by the spare tire.
Your Super Hitch installation is now complete.
Important Reminders
This guide serves as a visual reference for the installation process. Always refer to the official Torklift instructions when installing products, as they are updated regularly to reflect the latest specifications and procedures.
Frequently Asked Questions
What is the towing capacity of the Super Hitch 20K?
The Super Hitch offers a 20,000 lb towing capacity and 2,000 lb tongue weight rating.
Does the installation differ between short bed and long bed trucks?
Yes, there is a variation in the frame rail hardware installation step. The bolt fisher routing differs between short bed and long bed configurations.
Do I need the hitch spacer strip for my truck?
The adhesive hitch spacer strip is required for trucks 2017 and older. It is not needed for 2018 and newer models.
Why is it important to leave hardware loose during installation?
Keeping all hardware loose until the final torquing sequence allows for proper alignment of all components. This ensures the Super Hitch receiver aligns perfectly with the factory hitch receiver.
What warranty does the Super Hitch come with?
The Super Hitch is backed by a lifetime warranty.
Where can I get help if I have questions during installation?
For any questions, visit the Torklift website or call 800-246-8132.
What part number is used for the Dodge 3500?
The Super Hitch part number D1108 is used for the Dodge 3500 installation shown in this guide.